
Continuing your journey building your website we have come to the header image or header images.
The Header image is an important part of your website that will help create your identity for your website.
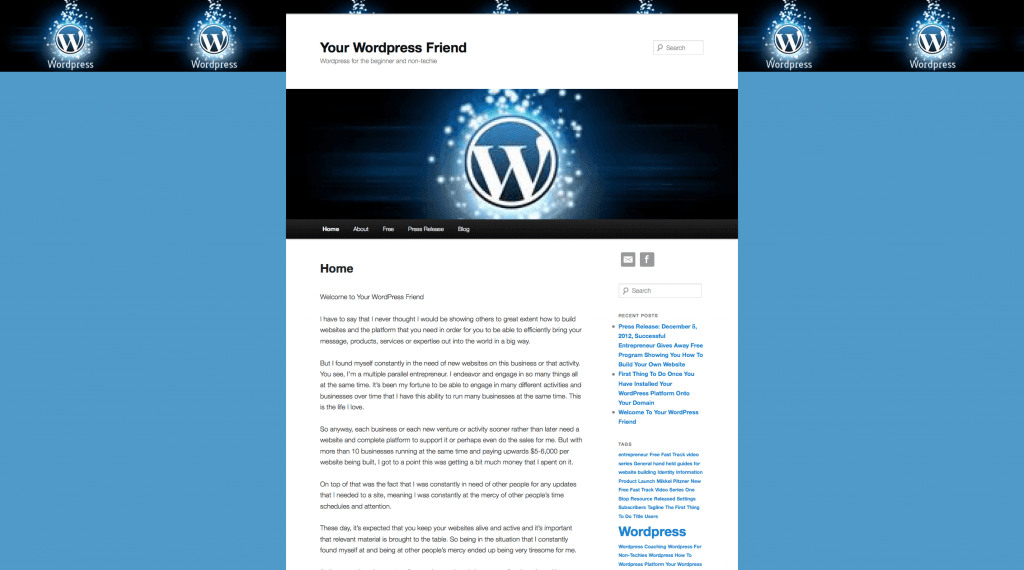
Thus if you look at this site currently – and as I suspect in future too – you will see instantly that it seems to reference something with WordPress, which is exactly what I want it to do. This site is all about building your website using the WordPress platform, so it’s important that the look and feel of the website also presents that sentiment.
Currently I have enhanced this association by the header image choice showing the WordPress easily recognized logo with a bit of sparkle to it. I have also enhanced this by the tiled logo in the background which runs horizontally across the background of the website (but more about that in later post on selecting your background for your site).
Now in case the look of my website changes over time, let me just post here an image of the current state and look of the site so that we ensure that there is relevance for this post and you can see exactly what I’m talking about. For although this site should always portray something easily associated with WordPress as this is what the entire site is about, then the logos and arrangements ma change over time as I progress further down the line with the site.
So here is the website look as of today’s post:
 Now when you installed the WordPress Platform to your website, you will notice that you got a number of images included. Also if you refreshed your site or navigated a little bit from page to page or to a post or such, you probably also found the header image to be cycling through different images.
Here are the images that came with your WordPress Installation (Currently at least with the socalled Twenty Eleven theme from WordPress – WordPress may change the images over time with future themes, so at a later point in time the images may be different):
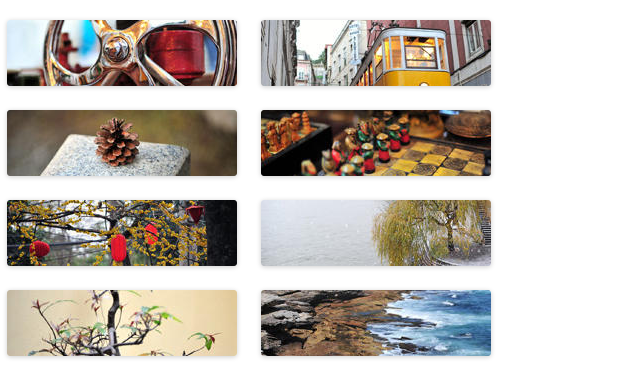
Although the images from WordPress are nice and pleasant, you will want to have your own images in place and quite possibly images that portray what you are about or at least what the website in concern is about.
If you are a speaker, an author, a coach or something like that, you may wish to make use of images of yourself. If you are building your website for your company or a hobby, then your images probably should be something that represents your products, services or the hobby in concern.
What ever the message relaid by your website the image or images should be relevant to that message.
As with everything for your website it’s all controlled via your Dashboard the control panel of your website. So to change your header images you need to log into your website first.
If you have everything correctly installed then your login can be done directly from your webpage (front), so just go to your URL – i.e. go to your domain in your webbrowser.
On the front page of your domain you will see a little widget on in your sidebar to the right of your webpage toward the bottom of the page, it looks like this:
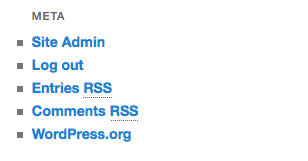
Now the above is the image as when you are logged in, so if you are not logged in yes the log out will simply read log in, so click that one and your log in screen will pop up, which looks like:
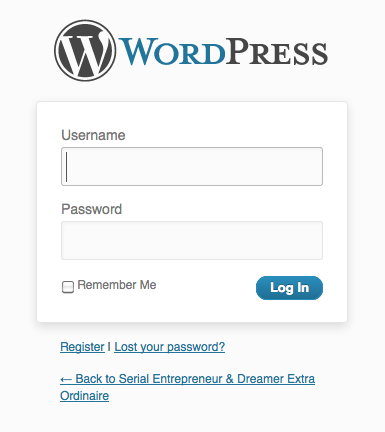
Then log in using the username and password that you were either sent in your installation email, or that you chose when you installed the wordpress platform.
Once you have logged in you are in your Dashboard.
To change your header image, there are several routes you can go.
First you can drop down in the Dashboard navigation and choose Appearance and you will see your themes installed. Alternatively go further down the navigation in the Dashboard and choose Header.
If you look at the image below it shows you the route via the appearance and then theme. From here you can see that you can customize this look by choosing one of the options of your theme (the theme you have active will be the theme that is at the top and most predominant, just like you can see in the image below, where Twenty Eleven is our active theme).
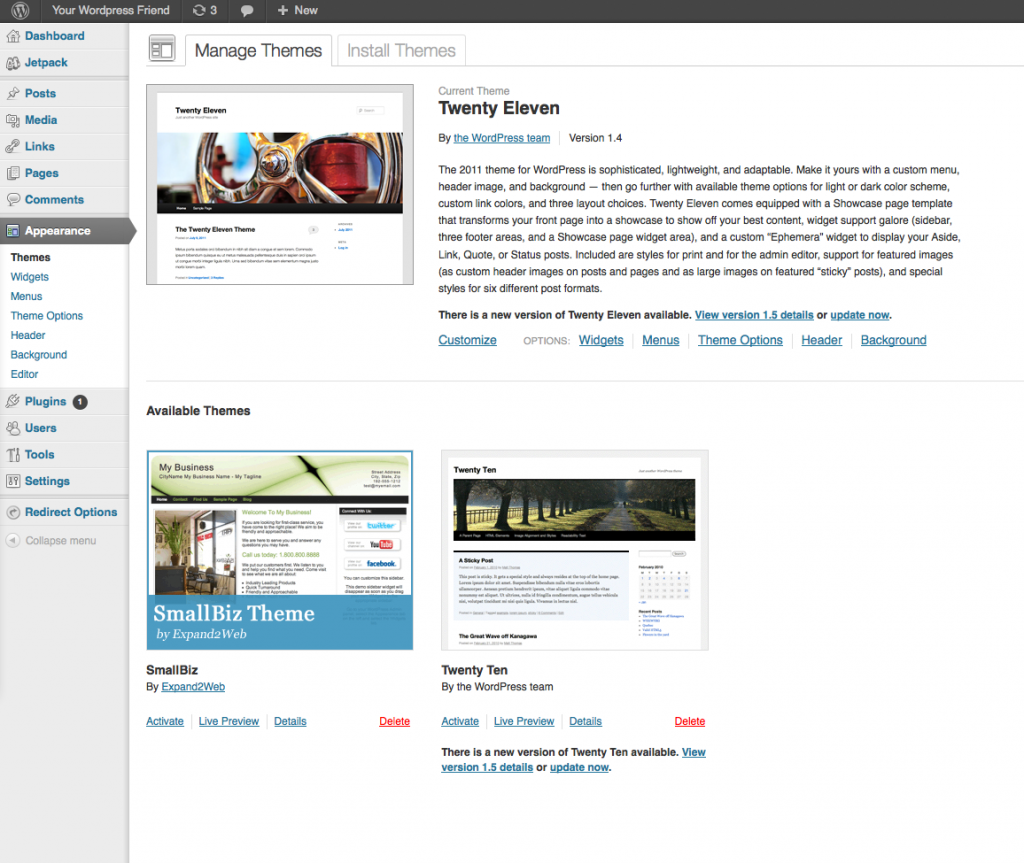
From here you can click straight to the Header to get to everything on your Header images and you will get something similar to the page shown in the image below (we just have a couple of own images installed, so those you won’t find on your page):
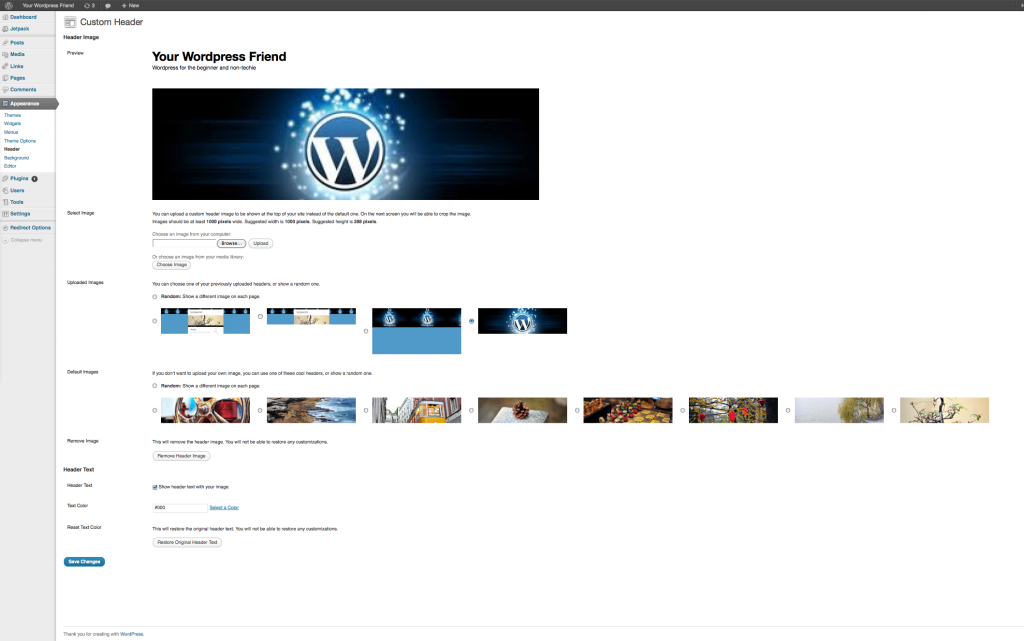
Now notice the little spot where you can upload your own image? That’s where you need to go. There are two ways the upload can be done. One it the browse your computer and then upload and the other is the drag and drop uploader. The last is great if you have a number of images that you wish to upload in one go.
Now, ideally you will want to have header images prepared beforehand that are web-optimized and have the correct image size. We will be handling that in future post in greater detail, but in the mean time you either know about these aspects already or at any rate you can still progress with your site building even if you don’t.
Standard at current time point the Twenty Eleven theme uses a header image size of 1000 pixels by 288 pixels. Most image editors will allow you to crop one of your own images to this size (iPhoto, Aperture, Photoshop all allow it – we will look at some of this in future posts in greater detail). Furthermore typically a web-optimized images is saved to your desktop for instance at a 72 dpi resolution (sometimes the option may simply be called something like “save for web” or “optimized for web” or you would choose this specific resolution).
Now if you don’t know how to crop an image to the perfect 1000×288 size do not worry, for when you upload your image to this header it will be crop-able in the site. So just upload the image of your choice and you will see what I mean.
Once uploaded, if your image is not sized already you will see parts of your image being “blacked out”. You can drag the image so that you can choose the part of the image that you wish to secure becomes visible in the end header image result.
In our Free Fast Track video series you can see this in an easier way that it is to write about it. You can access the free fast track video series here.
Once you have decided on the cropping of the image, just click the crop image button and then save. You now have your header image.
If you only have one Header Image then this will be the one shown on all your pages and posts throughout your website. If you want header images of your own to cycle through, then this will be somewhat more technical to achieve and will be for a future post.
You can however achieve easily a header image of choice every time you add a post or page, you setting your featured image.
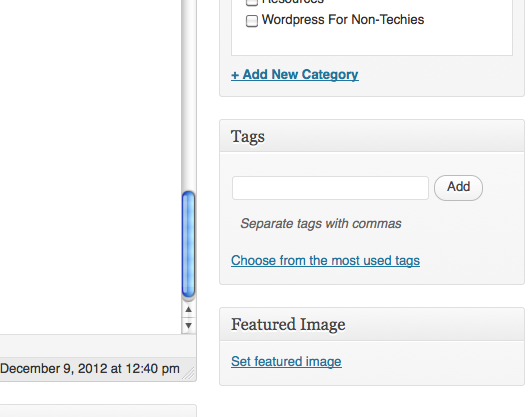 You will find this option when you add a new post or a new page and you will find it to your right toward the bottom of the page.
You click the Set featured image hyperlink and you can either upload an image or choose one from your library. Will will likely discuss this in greater detail later too as this is a very easy and yet powerful way of customizing your website.
For everything images. You can actually also use an image that is on the internet already by using the URL. I don’t recommend this however, unless the image is hosted on your own account somewhere, for you never know how long the image is going to stay there or how long it is going to have that exact URL. If some changes occur at sometime then you may very well lose the link and your will not have the image that you thought.
Naturally for all things images, you also need to observe copyrights etc. Don’t get caught in expensive infringement positions or something worse.
I hope you found this lesson valuable and would love to have your comments. Again it’s probably easier to follow everything by watching the videos. So I recommend that you access the Free Fast Track video series in which you can see how to manage your header image.
(Content was originally posted on previous site on 2012/12/09)