OK, so you have now your WordPress Platform installed to your domain.
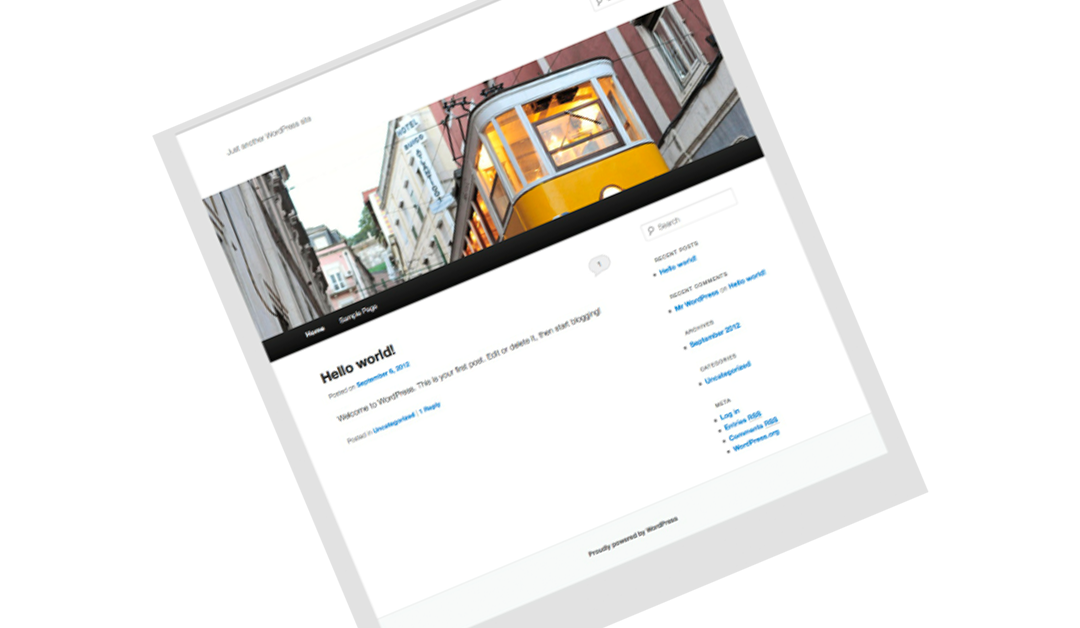
That should mean that your site may look more or less like this:
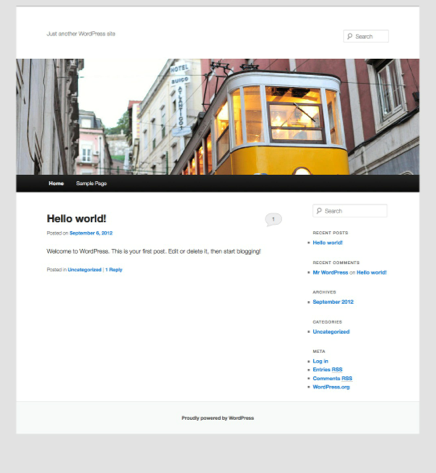
So now, my suggestion for what to do next, would be to go and change the Title and the Tag Line for your site.
This is super easy to do and takes less than a minute.
Here’s what you do:
on the right hand side toward the bottom of your page you see under the header name of Meta a log in hyperlink. You click here to bring up the login for your website and into your WordPress.
You can also find it by going to the URL called http://www.yourdomain.com/wp-admin where you naturally must substitute yourdomain.com with the actual domain that have.
What will show up is the login box that looks like this:
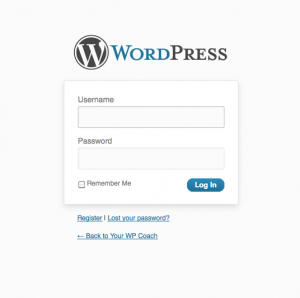
You then log in using the user name and password that you signed. As standard WordPress will set up you with username being admin, and if you didn’t specify your own password at the time of installation you must use the password that WordPress generated for you when you installed the platform.
You can consult with the email that was sent to you at the time of installation of the WordPress platform. This was sent to the email address that you signed up with when installing.
In case you have lost the email and the password, you can of course go the typical way of stating that you loss the pasword (clicking the hyperlink for this underneath the login box) and retrieve it that way by having the WordPress site send a new one via email (to the email address that you used/specified when installing the platform.
So once you have signed in, you will land inside the WordPress platform at what is called Dashboard. It looks like this:
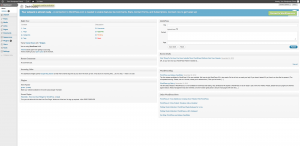
It’s from the Dashboard that you control everything about your site.
Notice the navigation on the left hand side. You can do pretty much everything via this navigation. You may find direct links to what you wish to do for certain things on your site on the actual page of your Dash board that you should be looking at, but for the sake of ease in explaining in this write up as well as actually in carrying out your tasks at any given time, I really would just refer to the navigation here on your Dashboard on the left hand side. In fact I often hardly even look at what the rest of the page at this point shows.
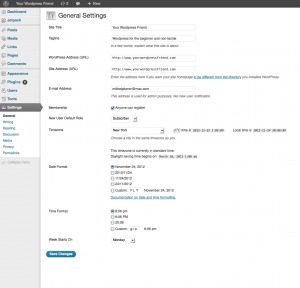
Anyway, if you scan down the navigation you will find Settings. Hover on this and choose General (or Click on Settings and the click on General).
Below you can see the General Settings page for www.yourwordpressfriend.com at the time of this writing. Naturally you will need to set up the setting the way you like it, starting with possibly giving your site a Title and below that the Tag line.
The other choices you can make use of are pretty much self-explanatory, although I will point out that you should leave the New User Default Role as Subscriber (at least I think so). If you wish to upgrade the role of a user at a later stage you can do so by choosing the Users tab in the Dashboard navigation, then find the relevant User and then change the role of this User to what you wish.
 That’s it.
You have now given your site the first part of Your own website identity. It now bears your own Title of choice as well as your chosen Tagline.
For www.yourwordpressfriend.com it thus looks like this:

(content of this post was originally posted on previous site 2012/11/24)